
MSX Cassette + USB Module
Save your MSX-BASIC programs to cassette tape and give your Z80 access to a wide range of USB devices.

Save your MSX-BASIC programs to cassette tape and give your Z80 access to a wide range of USB devices.
Code: DB108
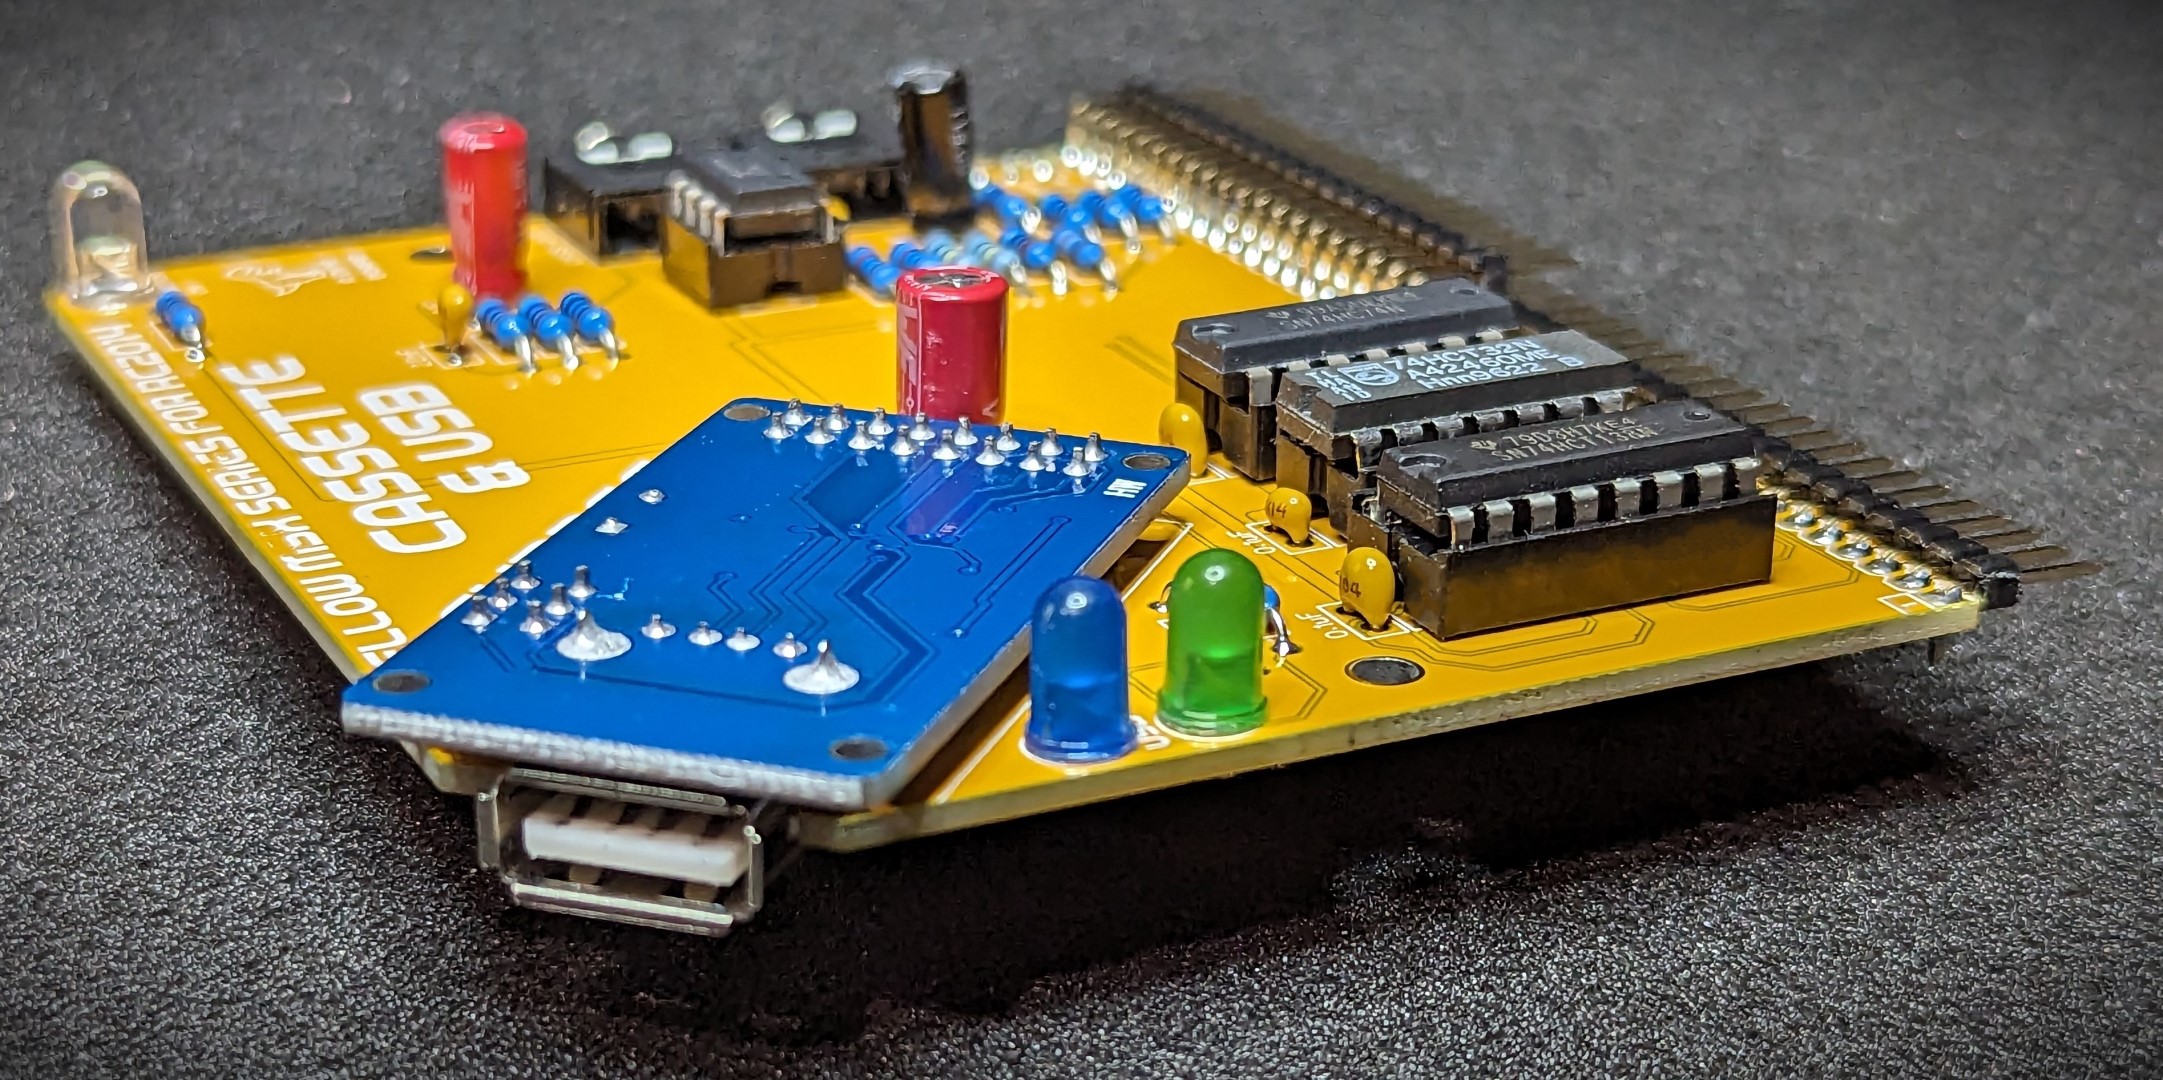
Relive the olden days of storing and loading programs onto cassette tapes. Experience the nostalgia of the old medium or perhaps find out what all the fuss was about.
But if that is not enough for you, then use the other side of this kit and bring your MSX RC2014 build into the 90’s with Universal Serial Bus. After updating your ROM images, you will be able to load and store via MSX-BASIC or MSX-DOS (NEXTOR) on:
But that’s not all, you can also:
There are also plans to update the software to support keyboard, ethernet adapters, and other useful USB devices.
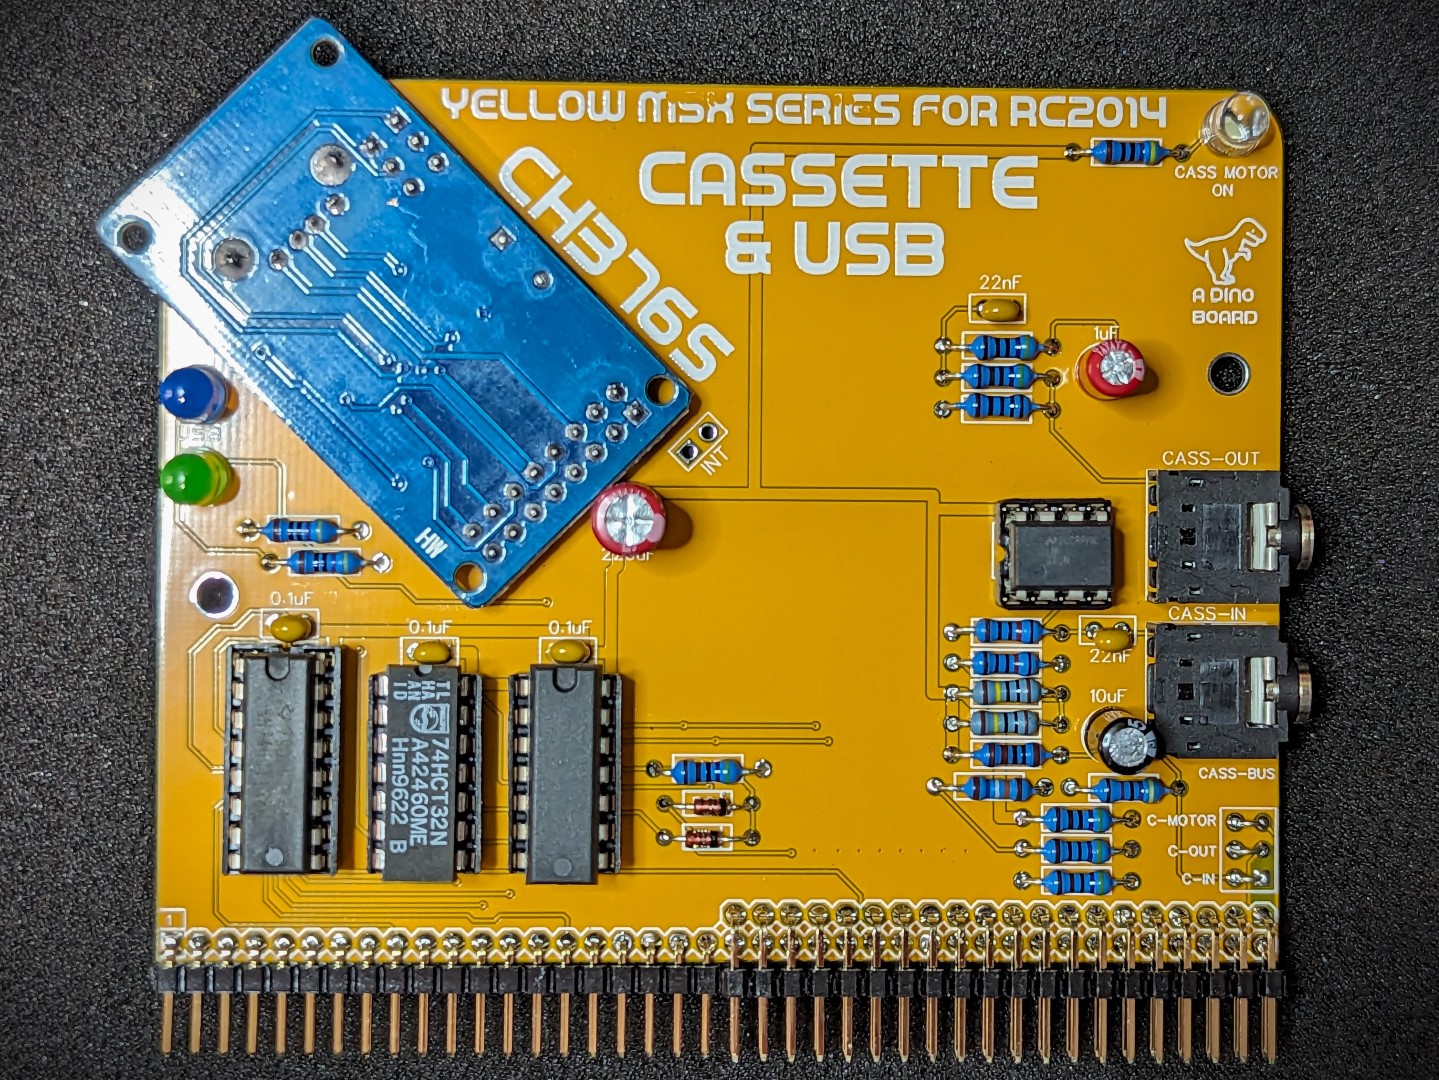
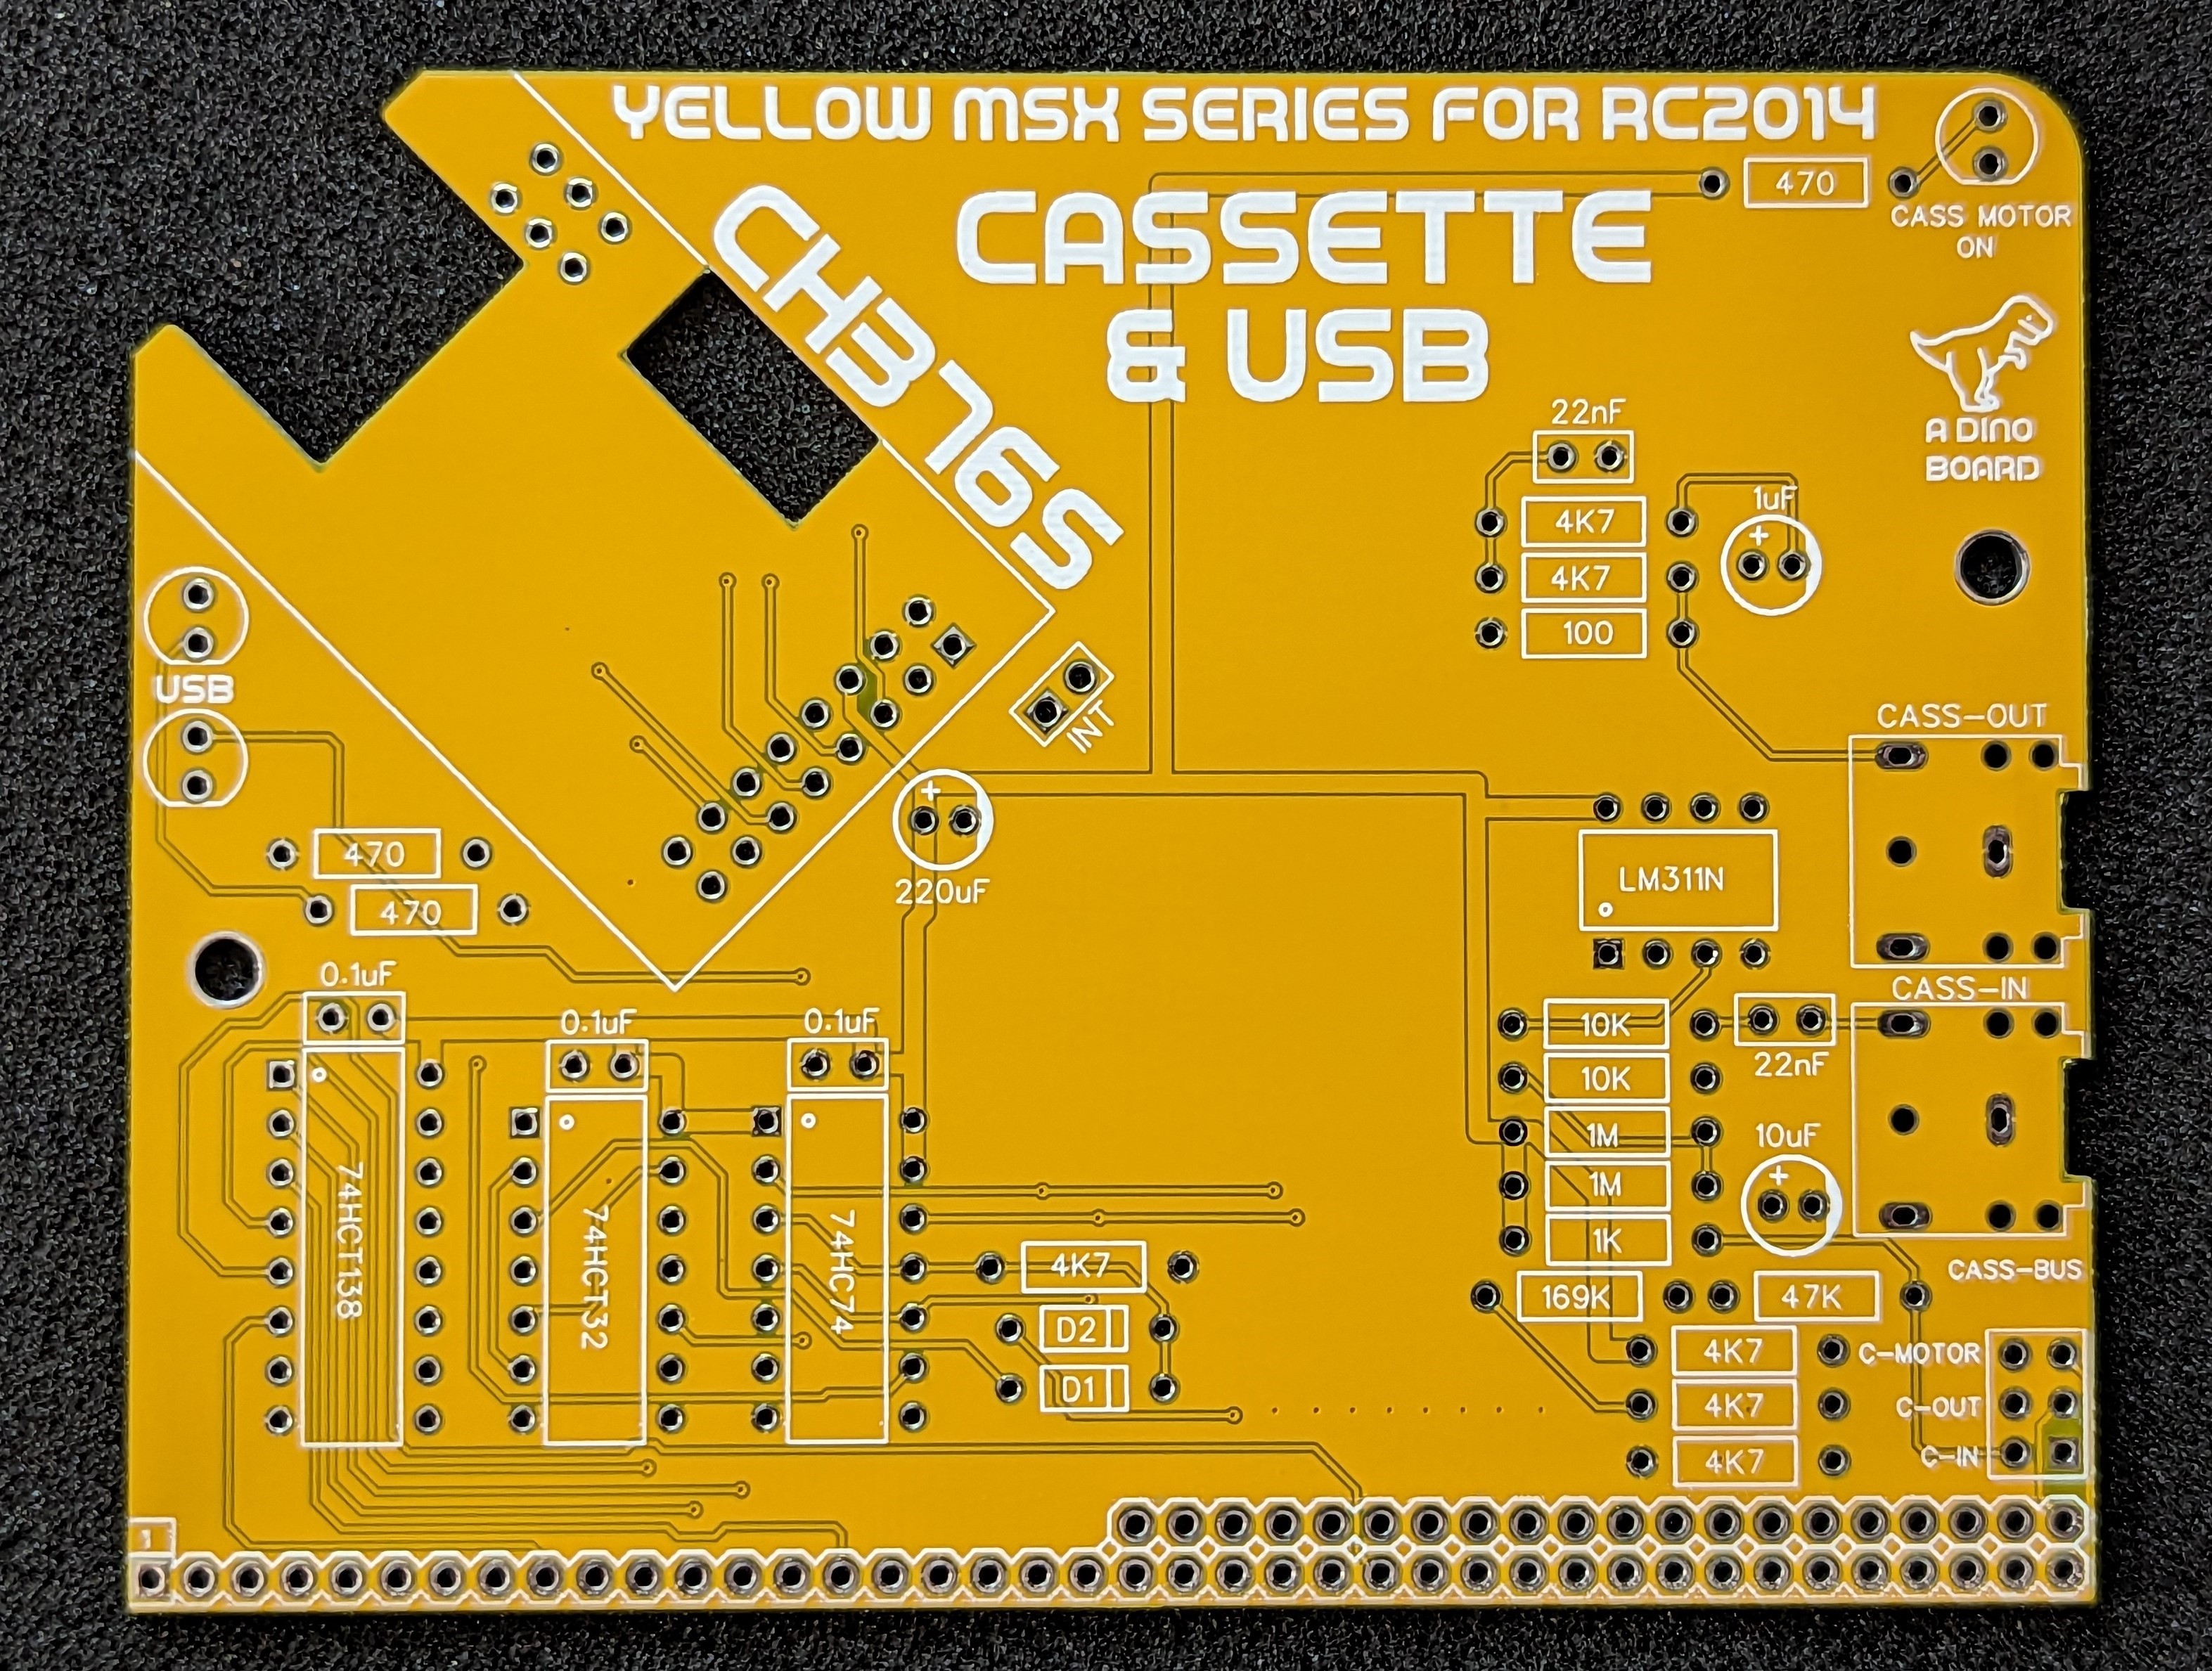
As described above this kit has 2 key features.
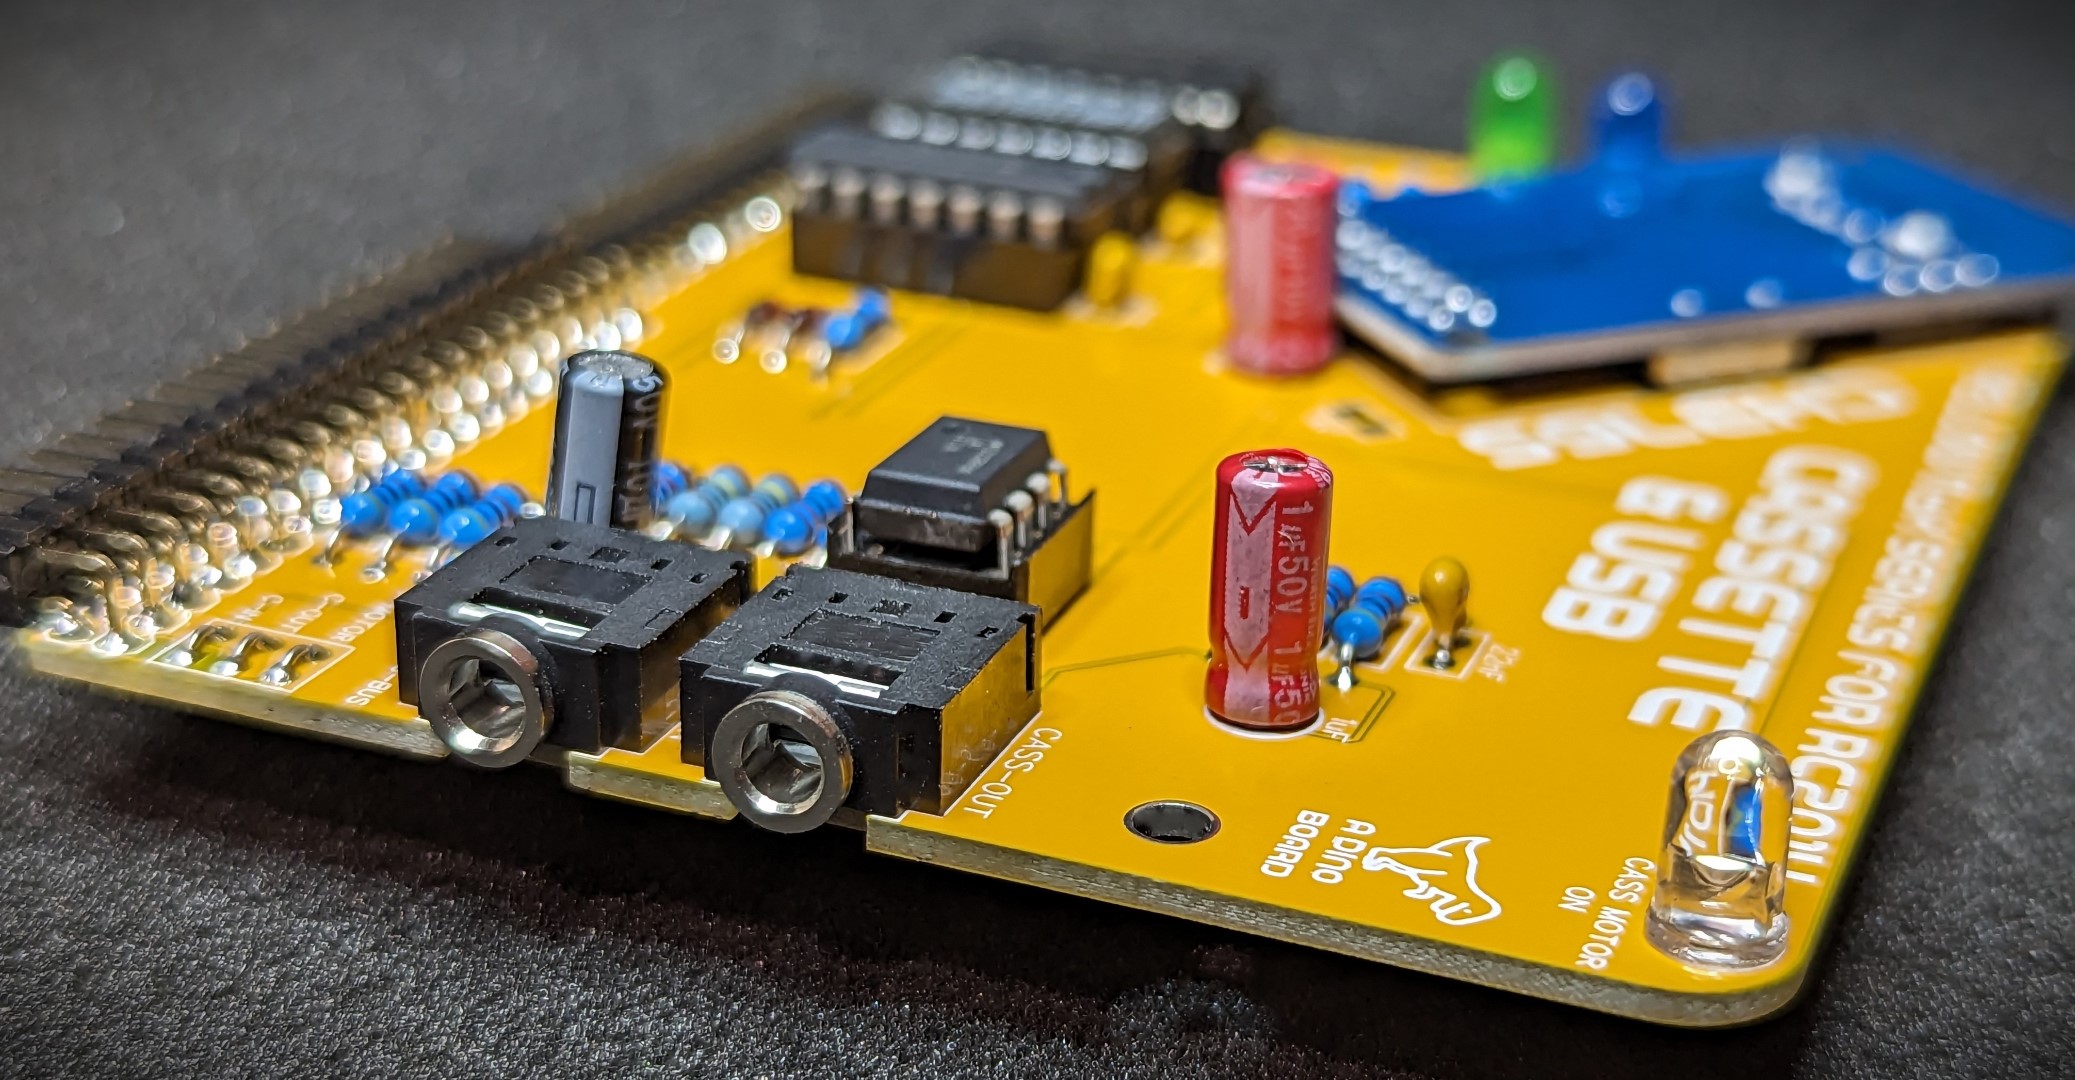
The cassette interface uses a conventional MSX design based around the LM311N Voltage Comparator. This little circuit will convert the ‘analogue’ signal from the cassette to a digital TTL signal
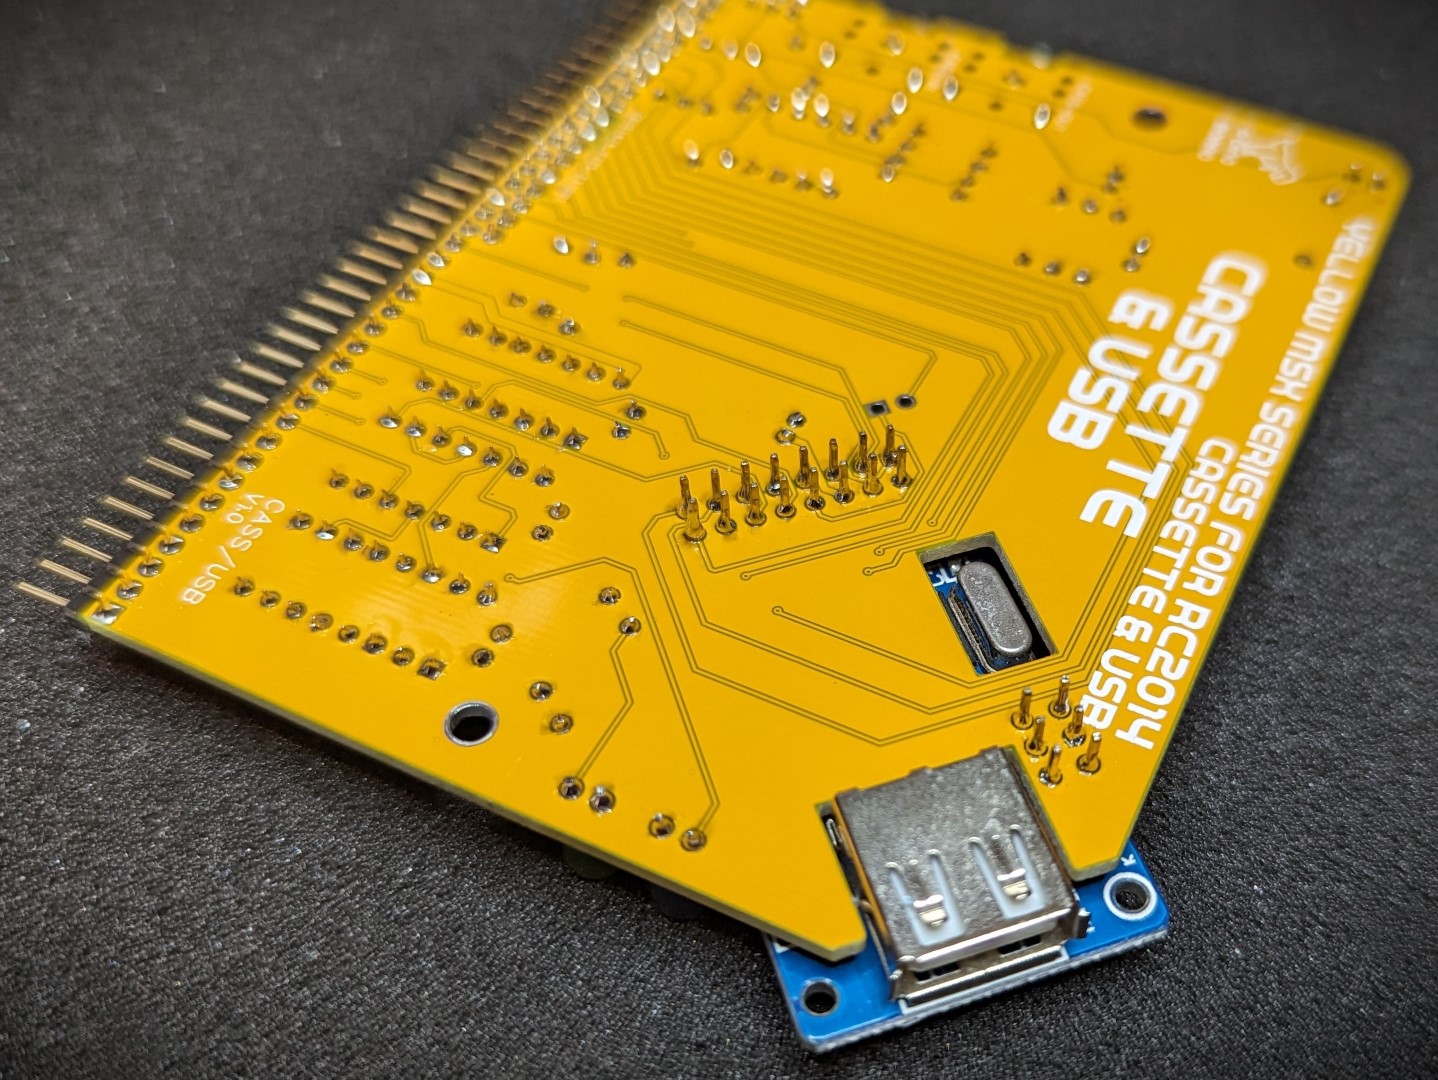
The USB interface use the cheap CH376S module. A module that handles the low level 12Mhz signals. The Z80 is still responsible for all the USB protocol encoding/decoding for various USB device classes - such as UFI for floppy and SCSI for Mass storage.
The CH376 does provide a high level interface for connecting to most common mass storage, but is limited and will not work through hubs. The MSX-DOS (NEXTOR) driver written does not use this feature of the chip, and instead uses the lower level USB protocol to implements the specific USB class for the attached storage device and will work though hubs, and support a wider range of devices.
 |
 |
 |
 |
 |
 |
The correct interfacing with any USB device is mostly limited by the software drivers that have been specifically written to enable appropriate support under MSX-DOS/NEXTOR. So any limitation or issue can probably, once identified, be corrected with a software update.
There has certainly not been any USB certification conducted. Just lots of manual testing by me. There are possibly still things in the software that are not following the rules.
Under MSX-DOS/NEXTOR hot swapping of devices is not supported. Insert your USB devices then power on or reset. You can change floppies, but do not unplug and re-plug the drive.
There are 4 main USB classes implemented to date. The UFI which is used by floppy drives, SCSI which is used by flash, HDD and other large storage devices, the printer class for Centronics parallel printer adapters and enumeration through USB hubs.
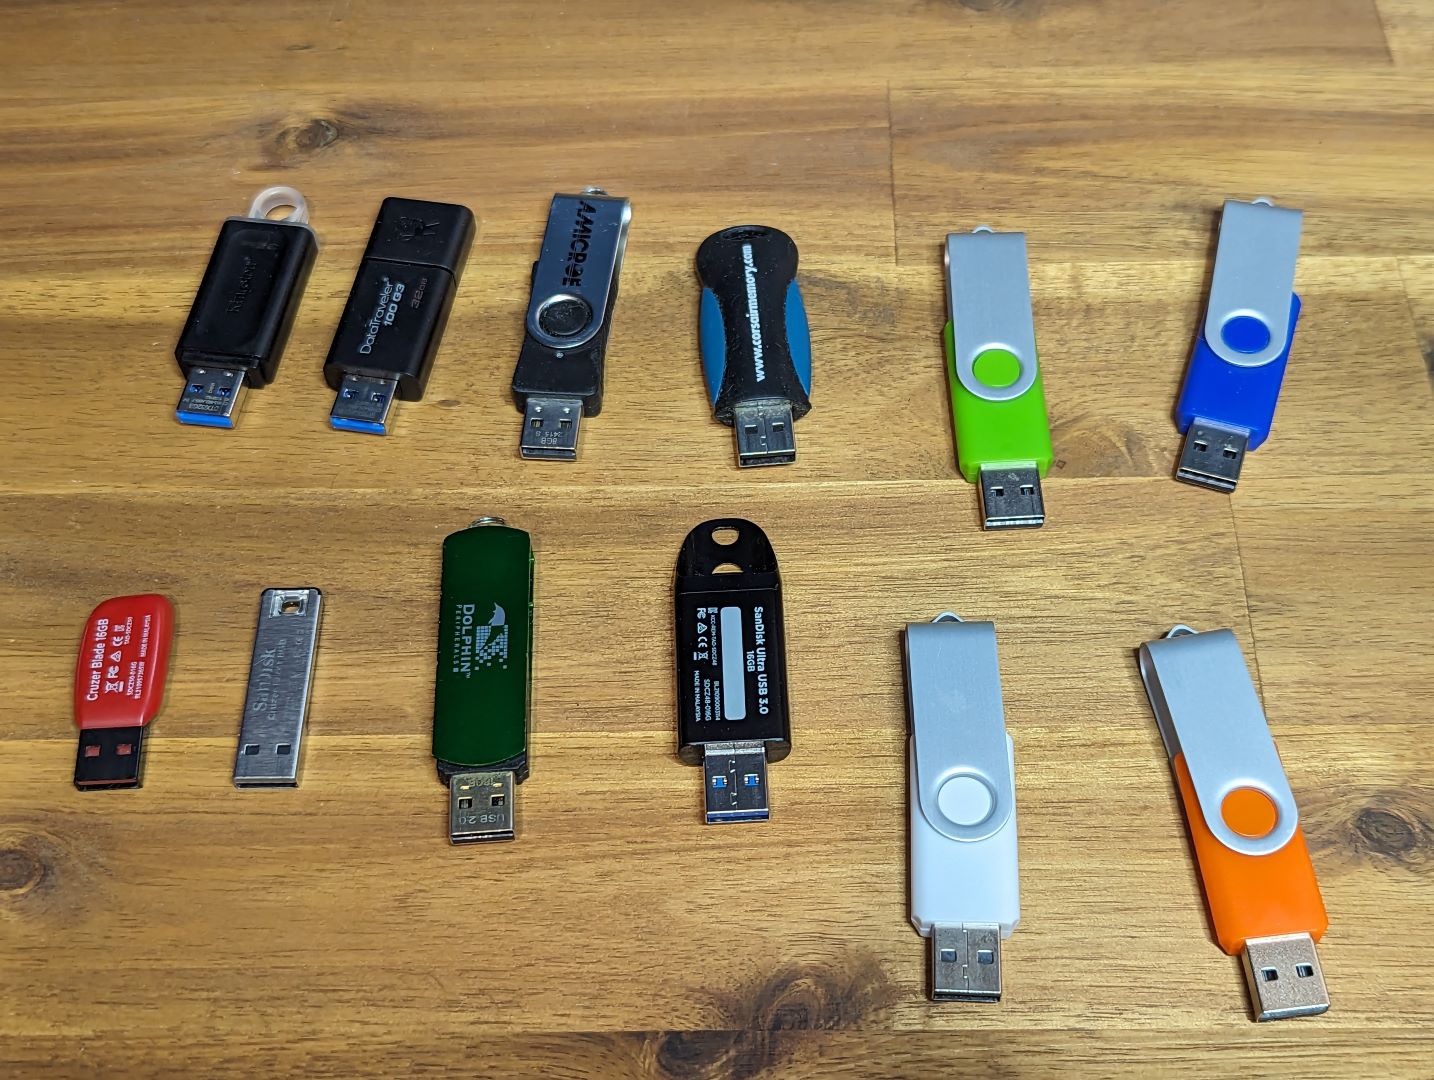
| * I have tested against 9 different Thumb/flash drives of varying sizes. Found and resolved all issues. * Tested against a couple of external magnetic hard disk drives. * Formatting of old magnetic drives not supported. (Partitioning through NEXTOR works as required though) |
|
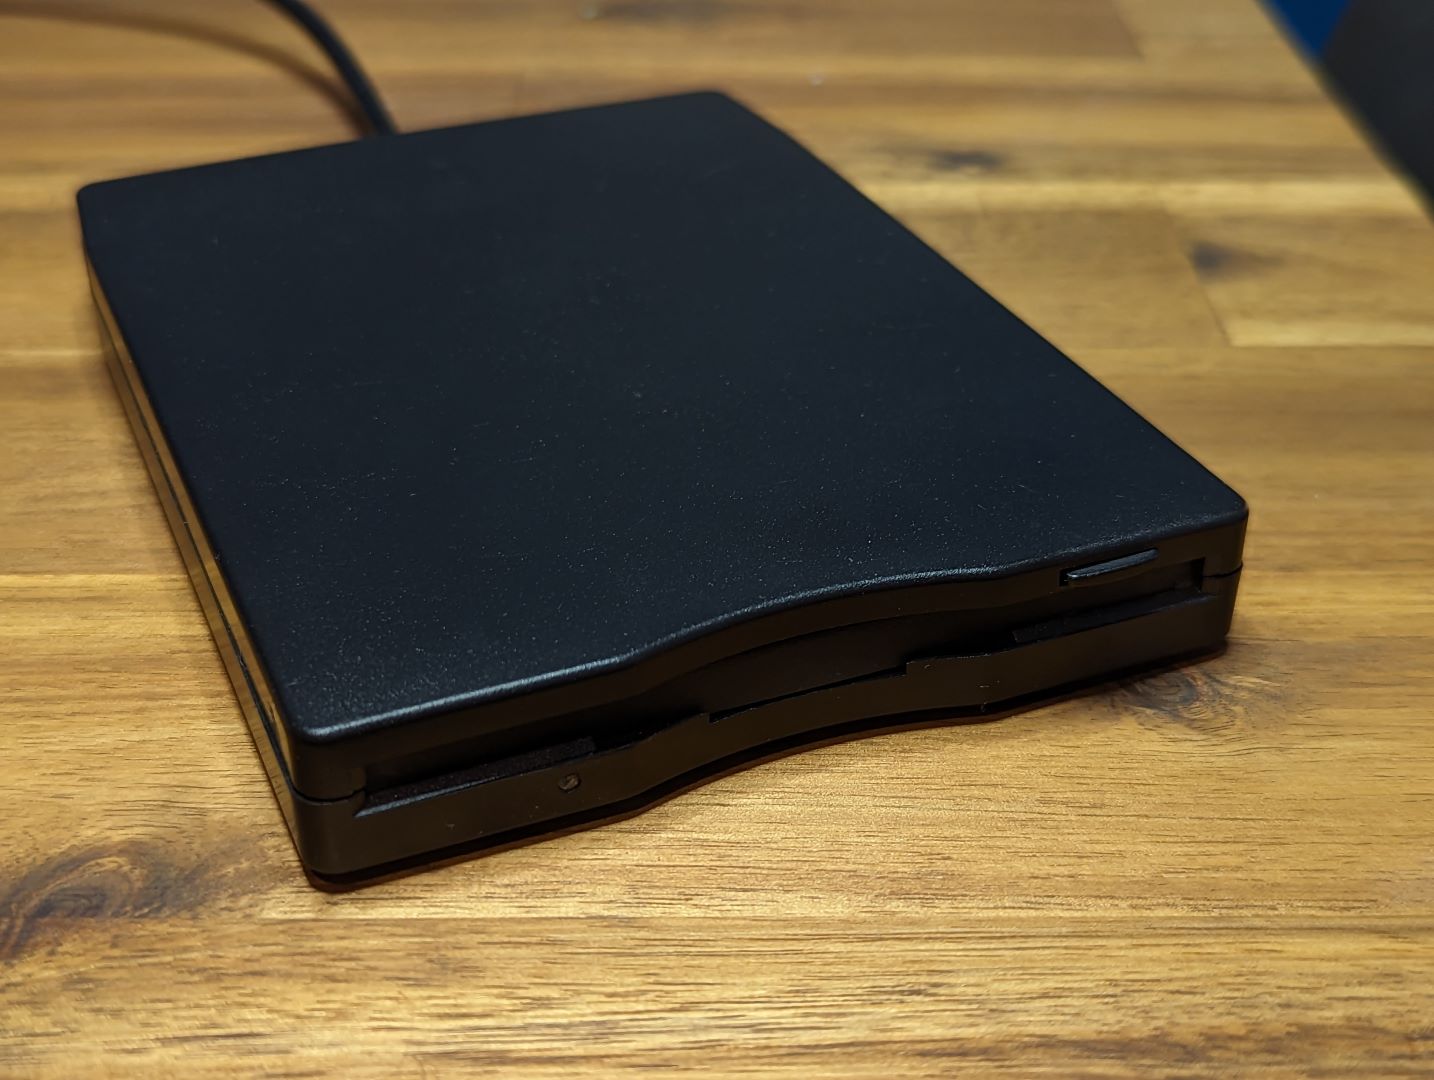
TEAC drive - purchased on ebay. Seems to be the most common available today
|
|
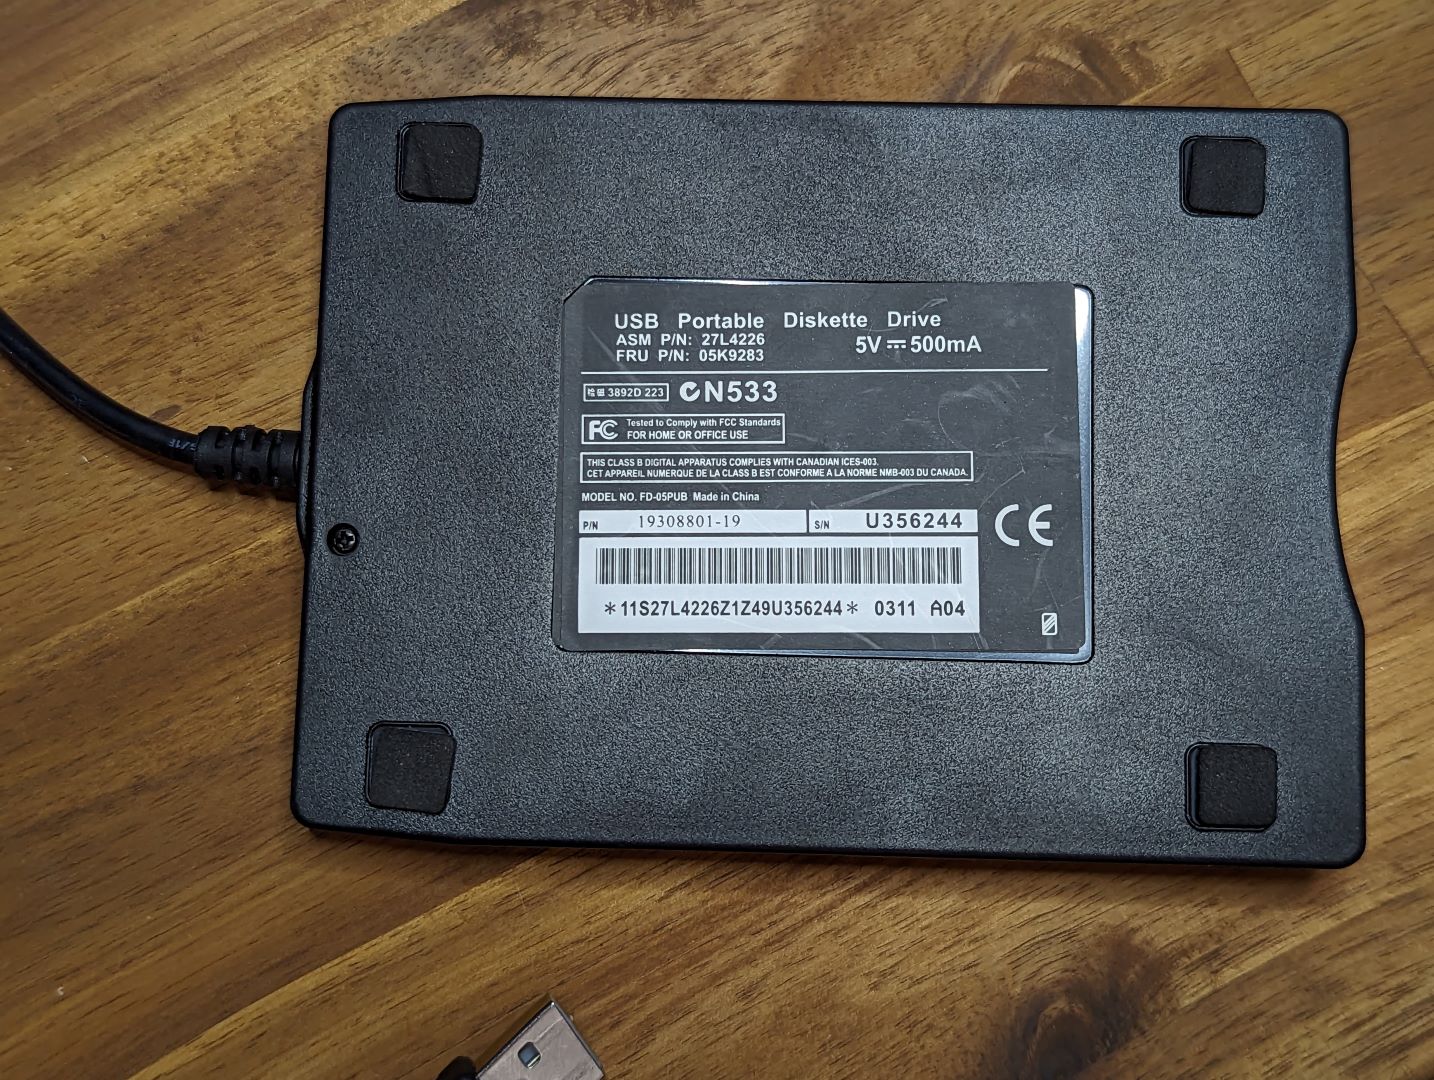
|
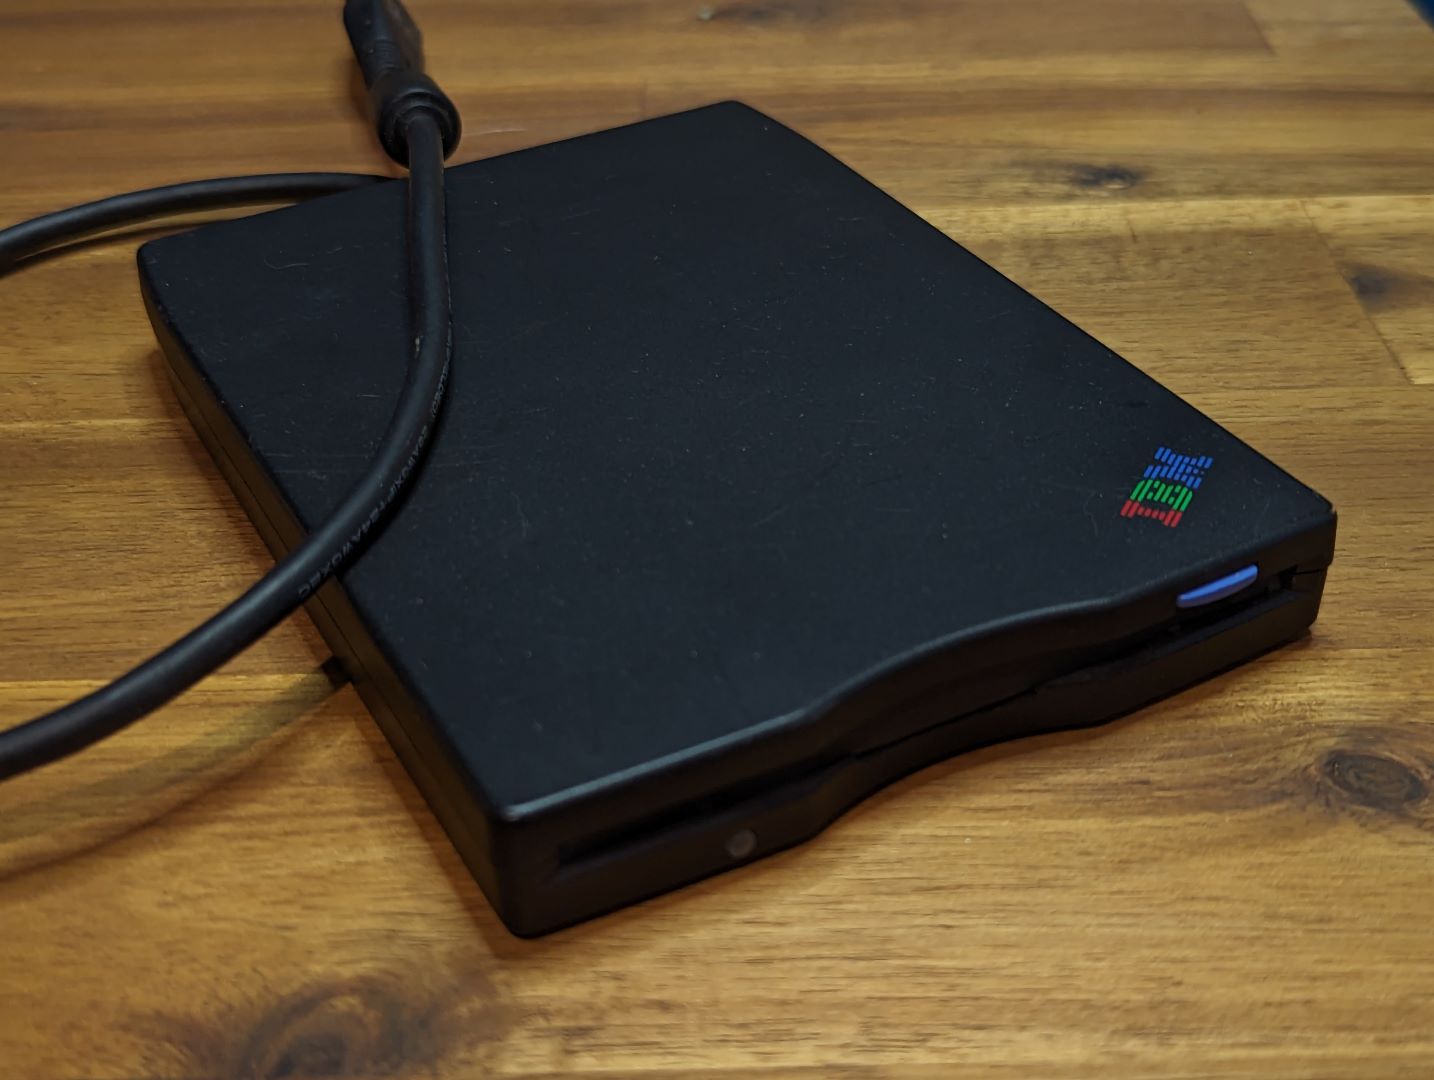
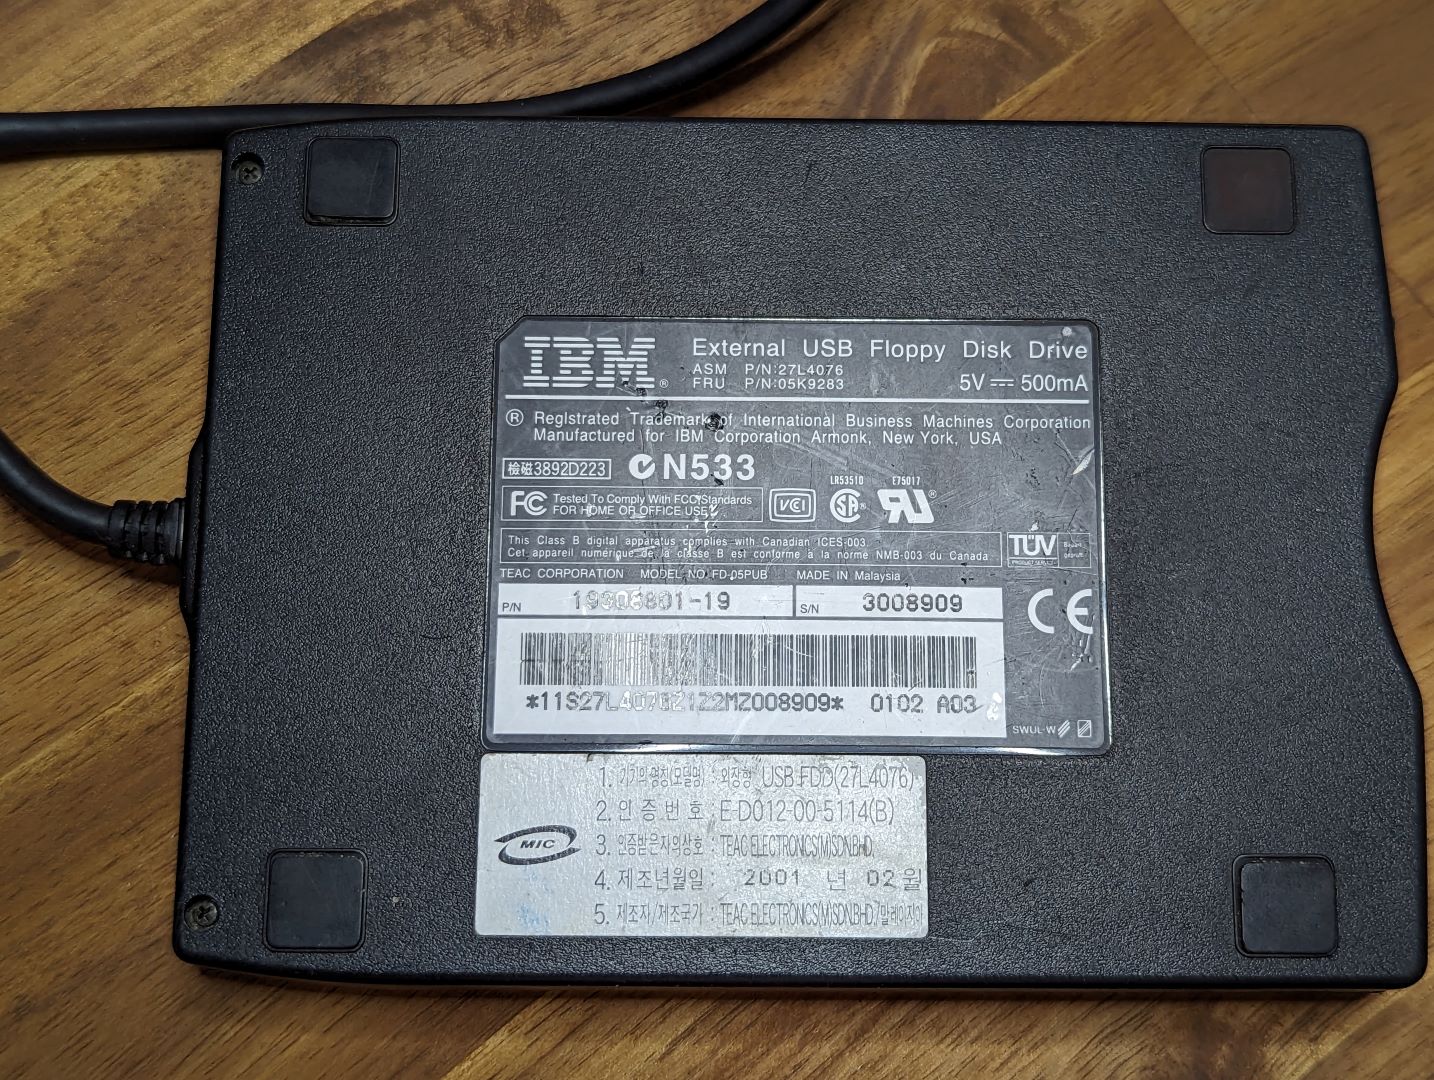
IBM drive - Seems to be an 'older' TEAC drive internally
|
|
|
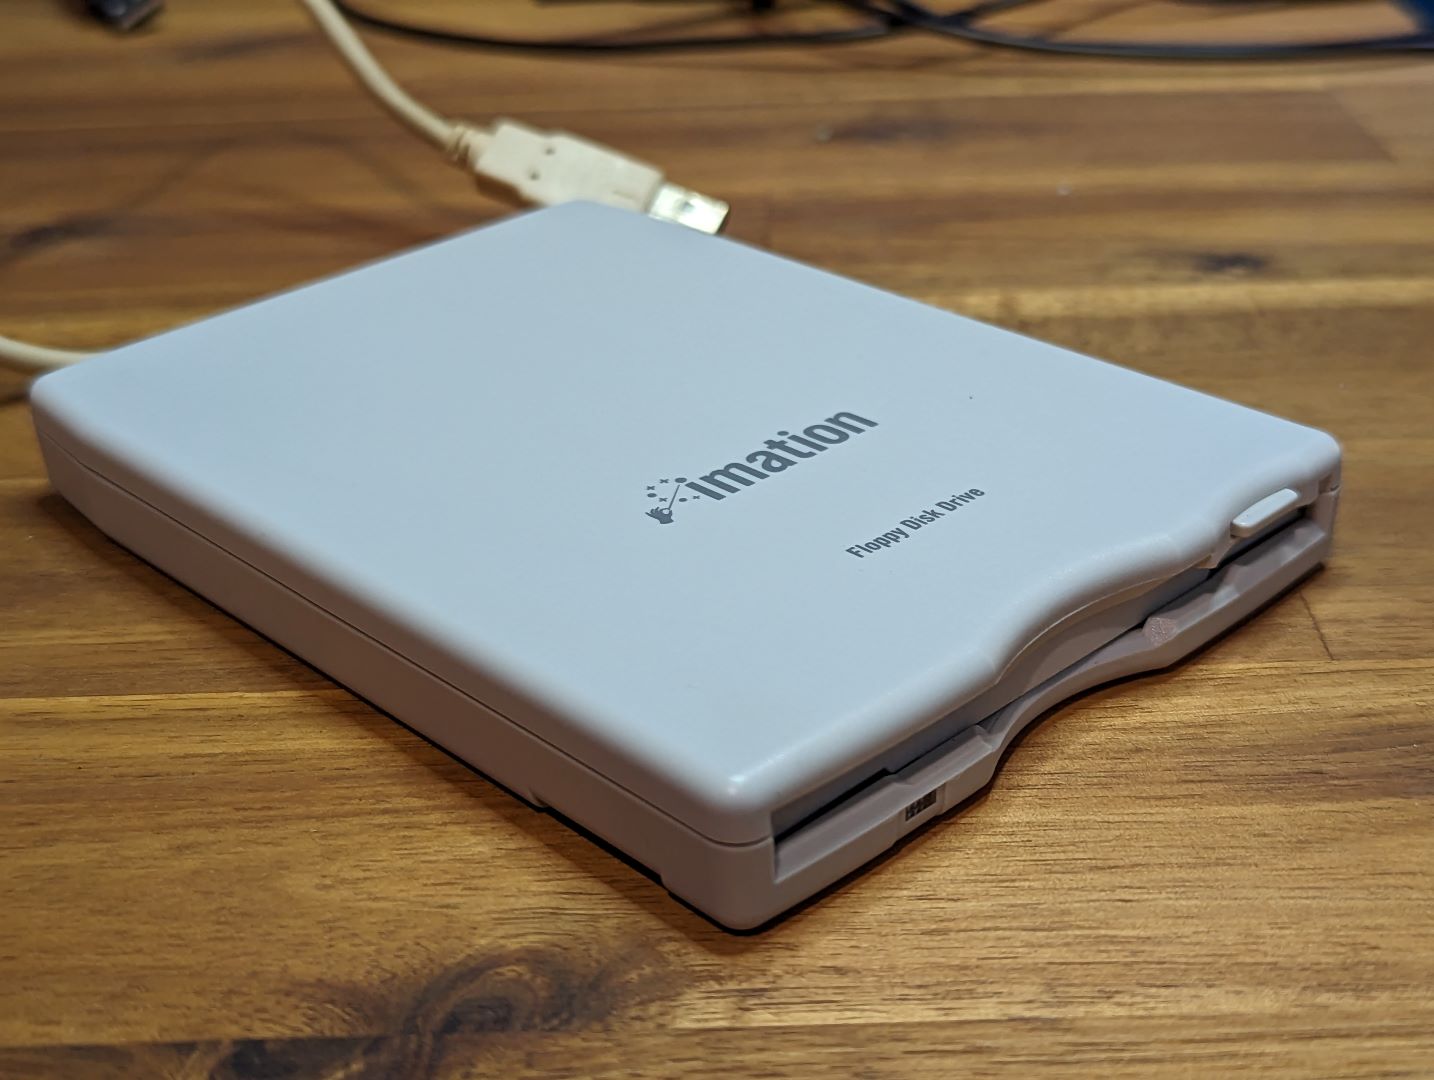
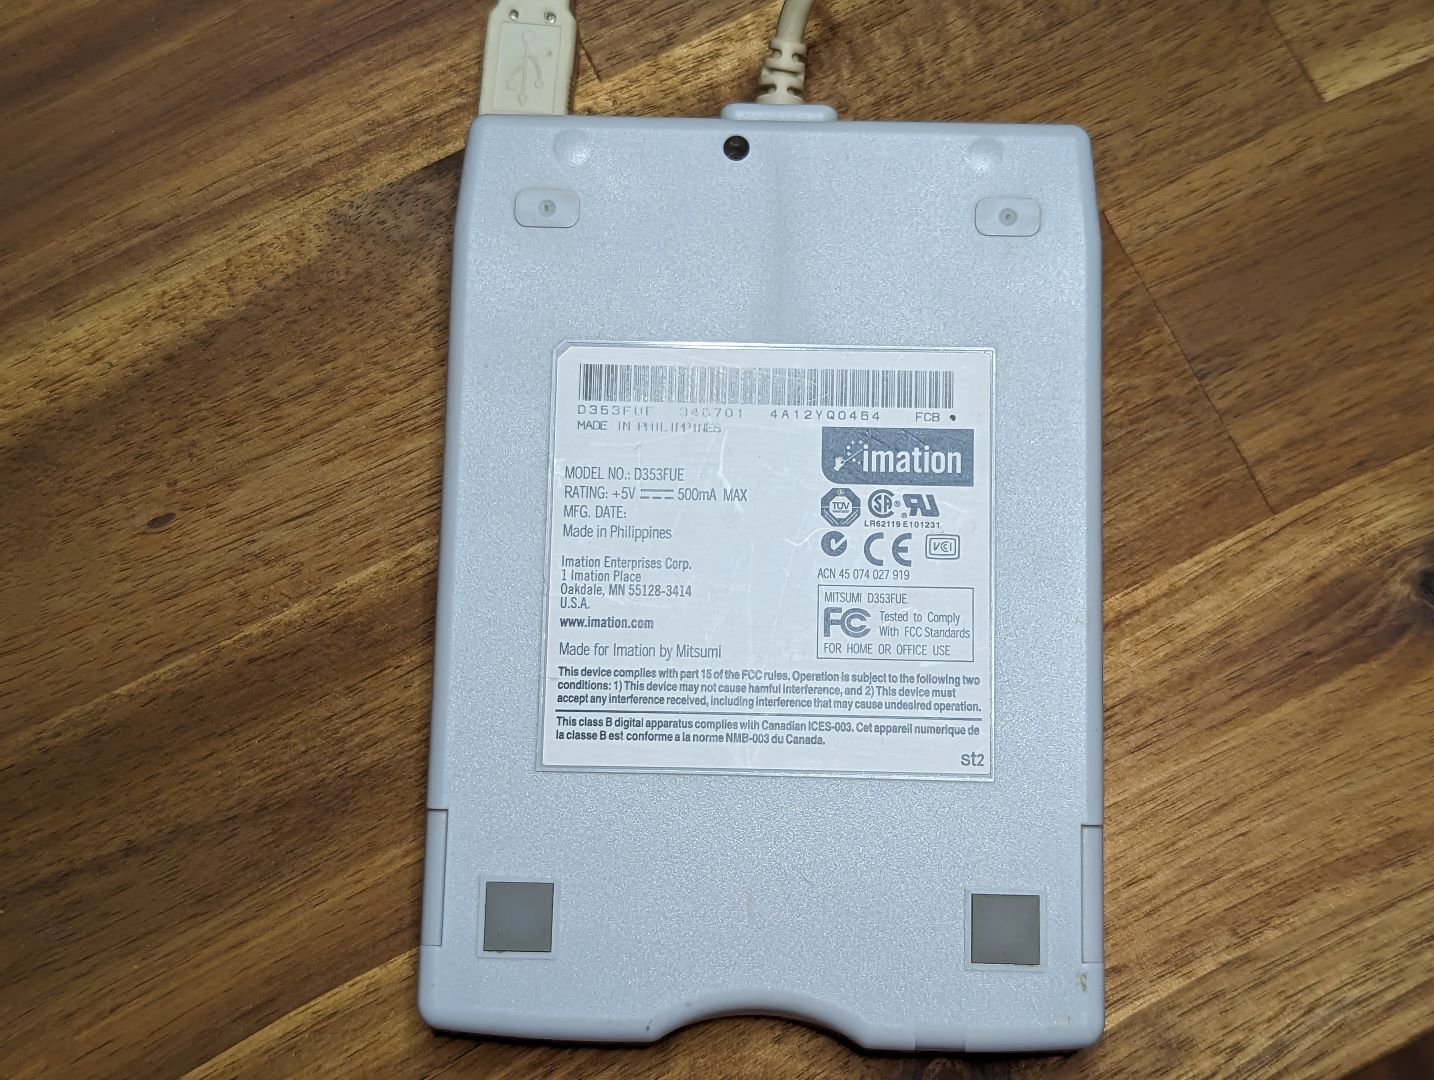
Imation drive - Old drive
|
|
|
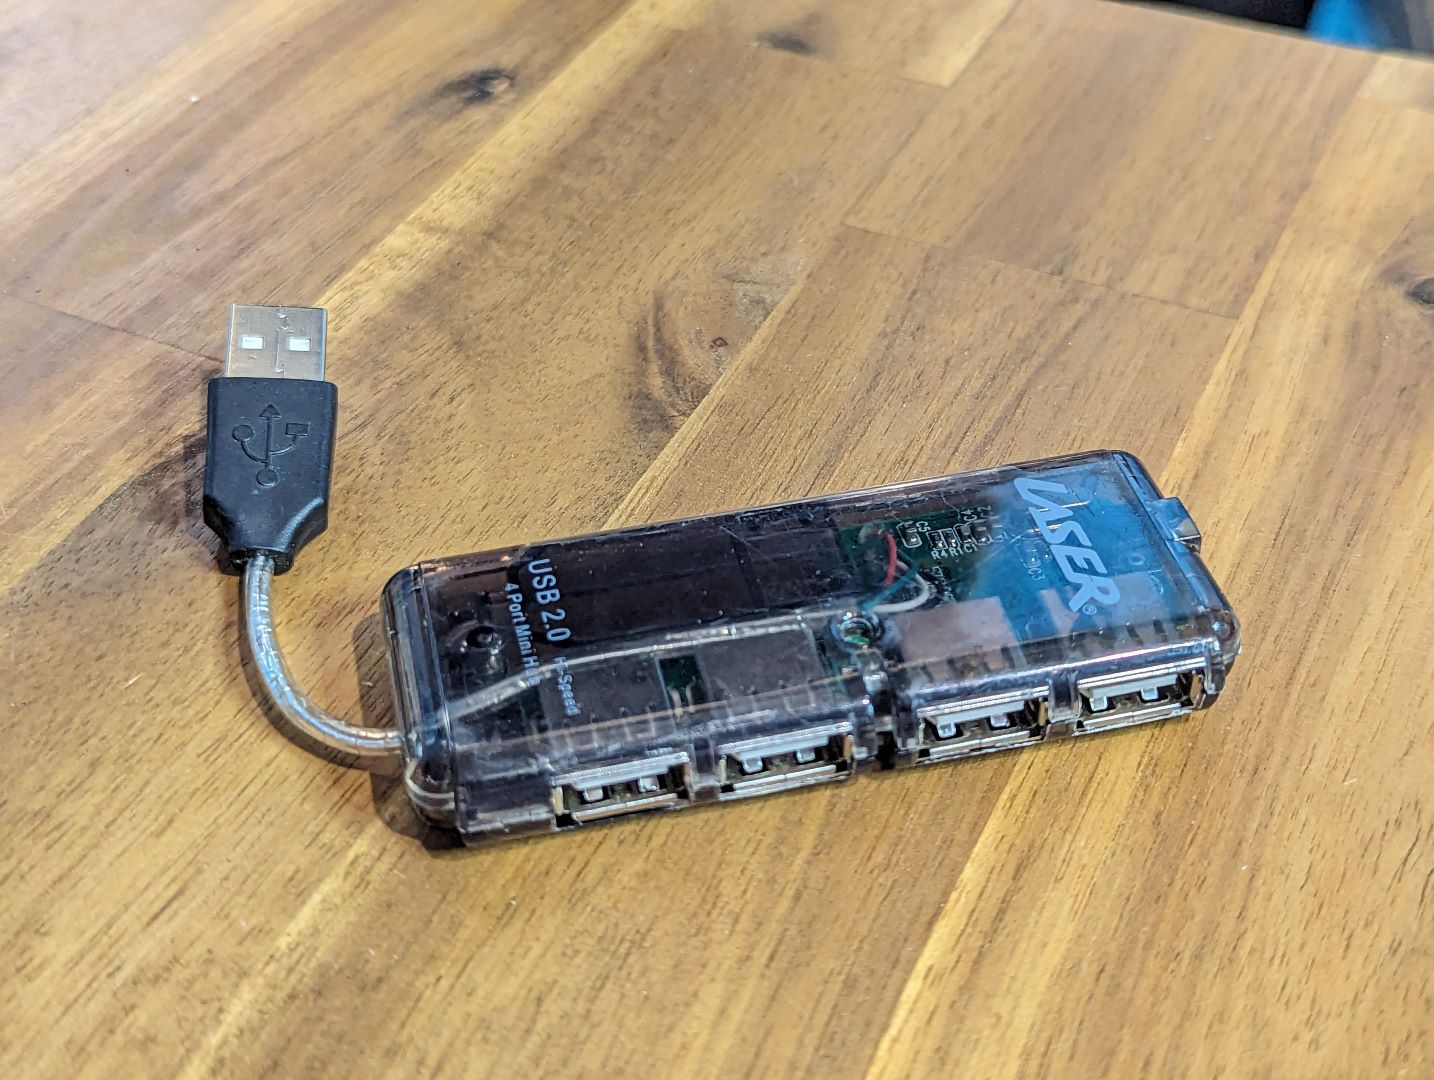
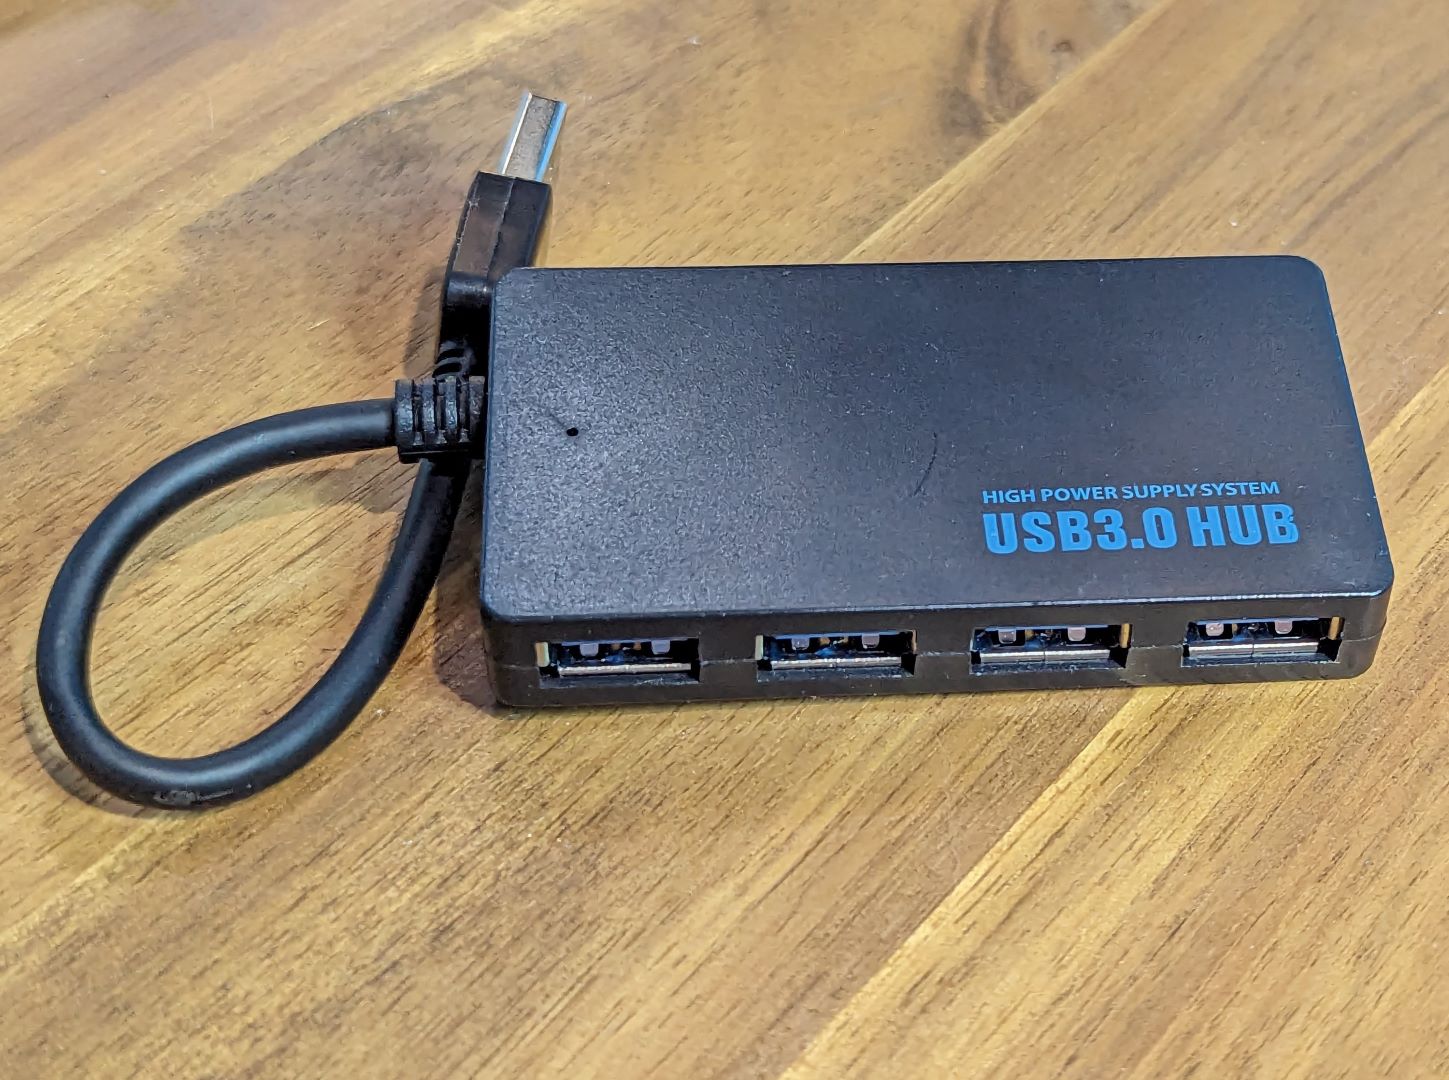
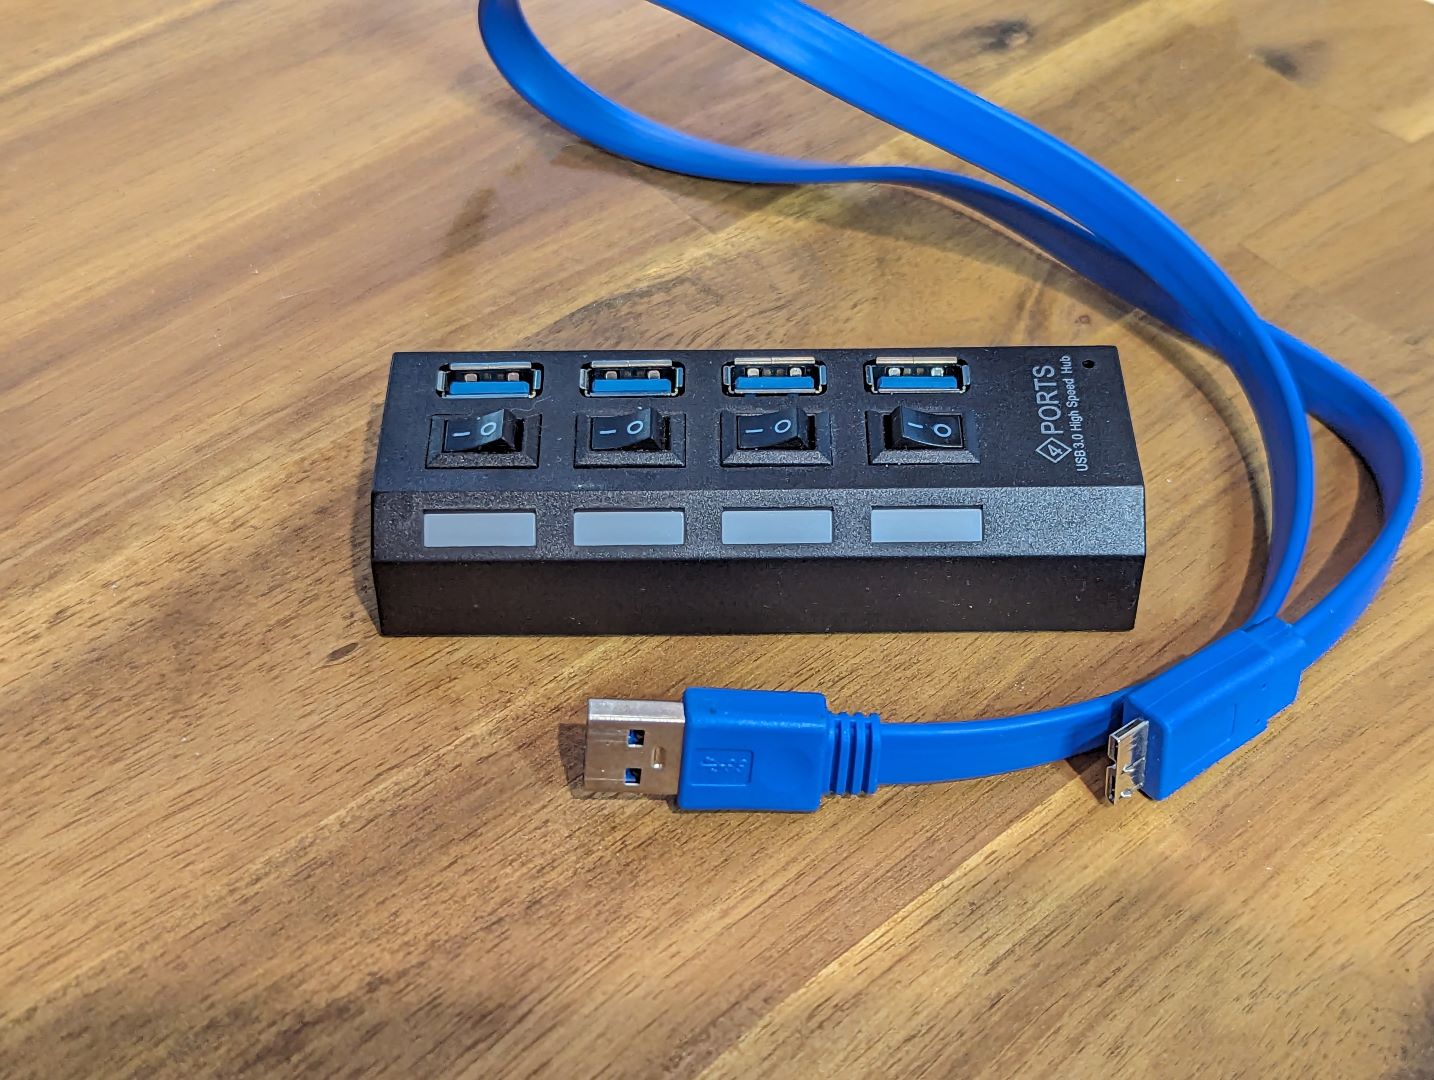
All but one of the hubs tested works. All but one of the hub seemed to have been ‘certified’.
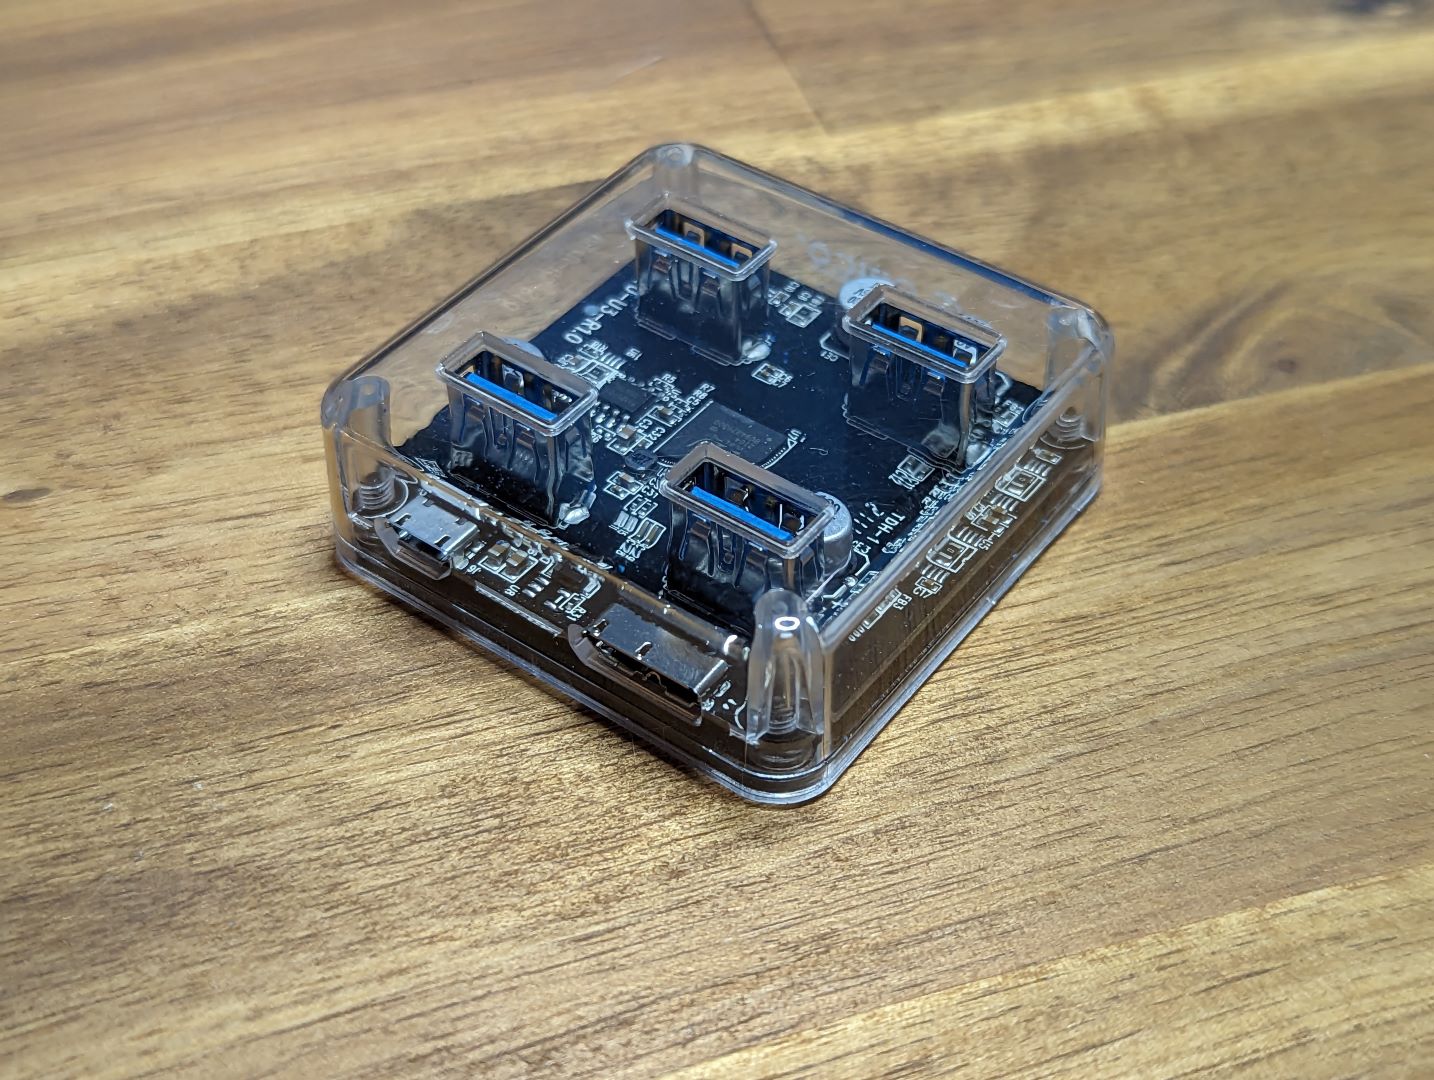
Orico 4 Port USB 3.0 Transparent Hub
|
|
Generic USB hubs
|
|
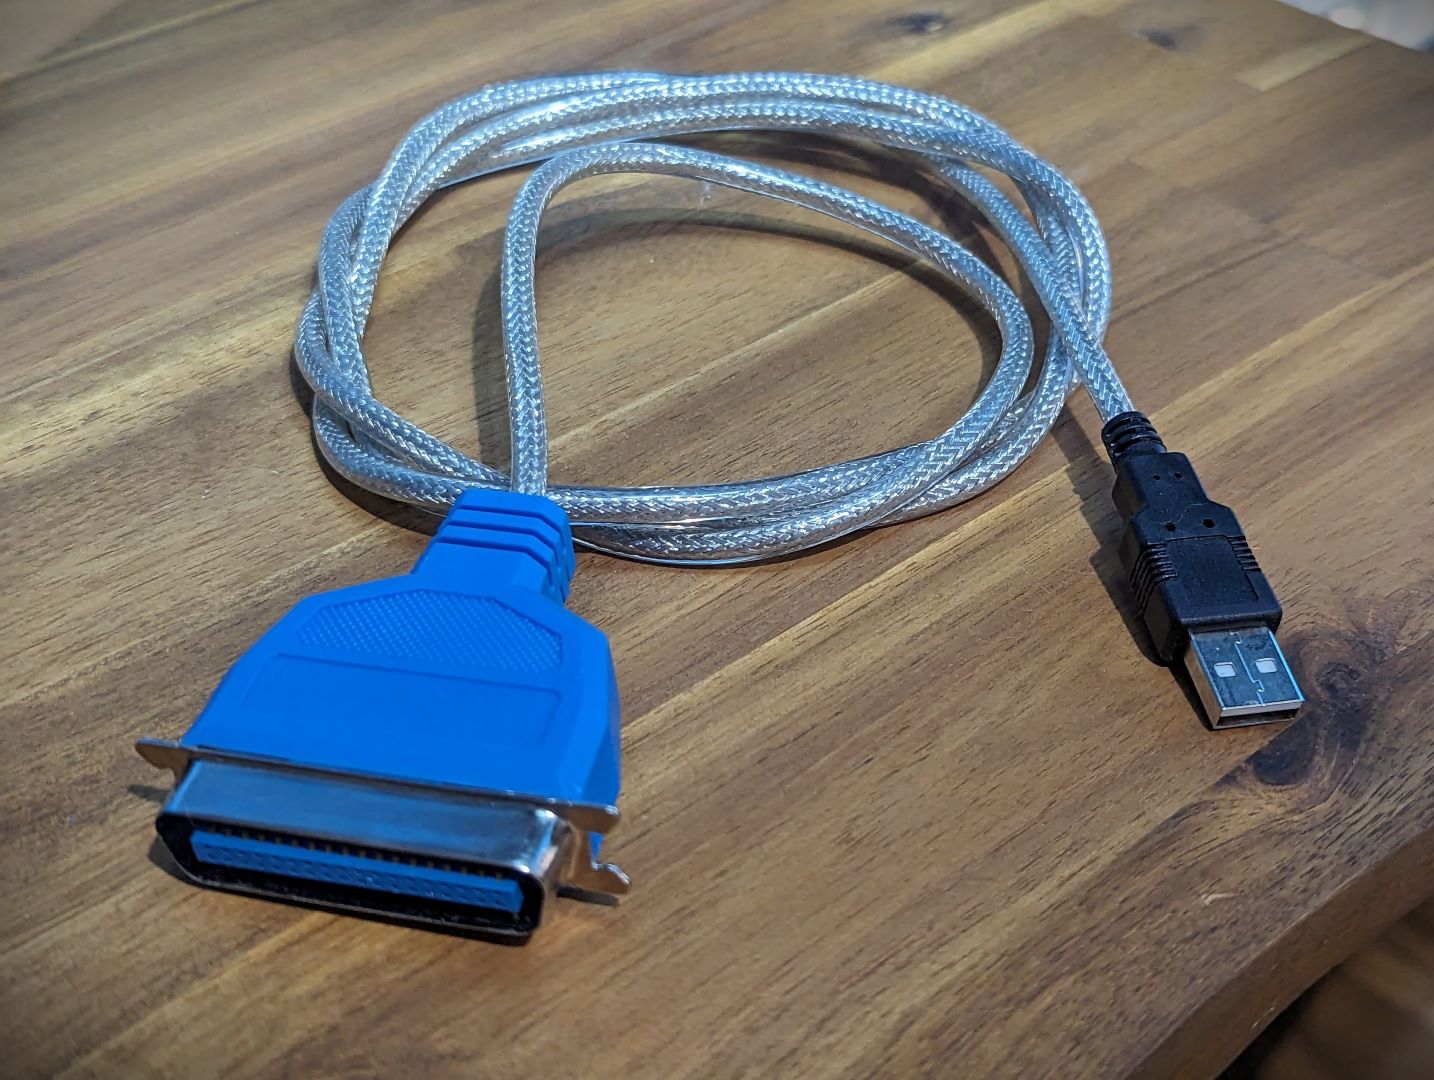
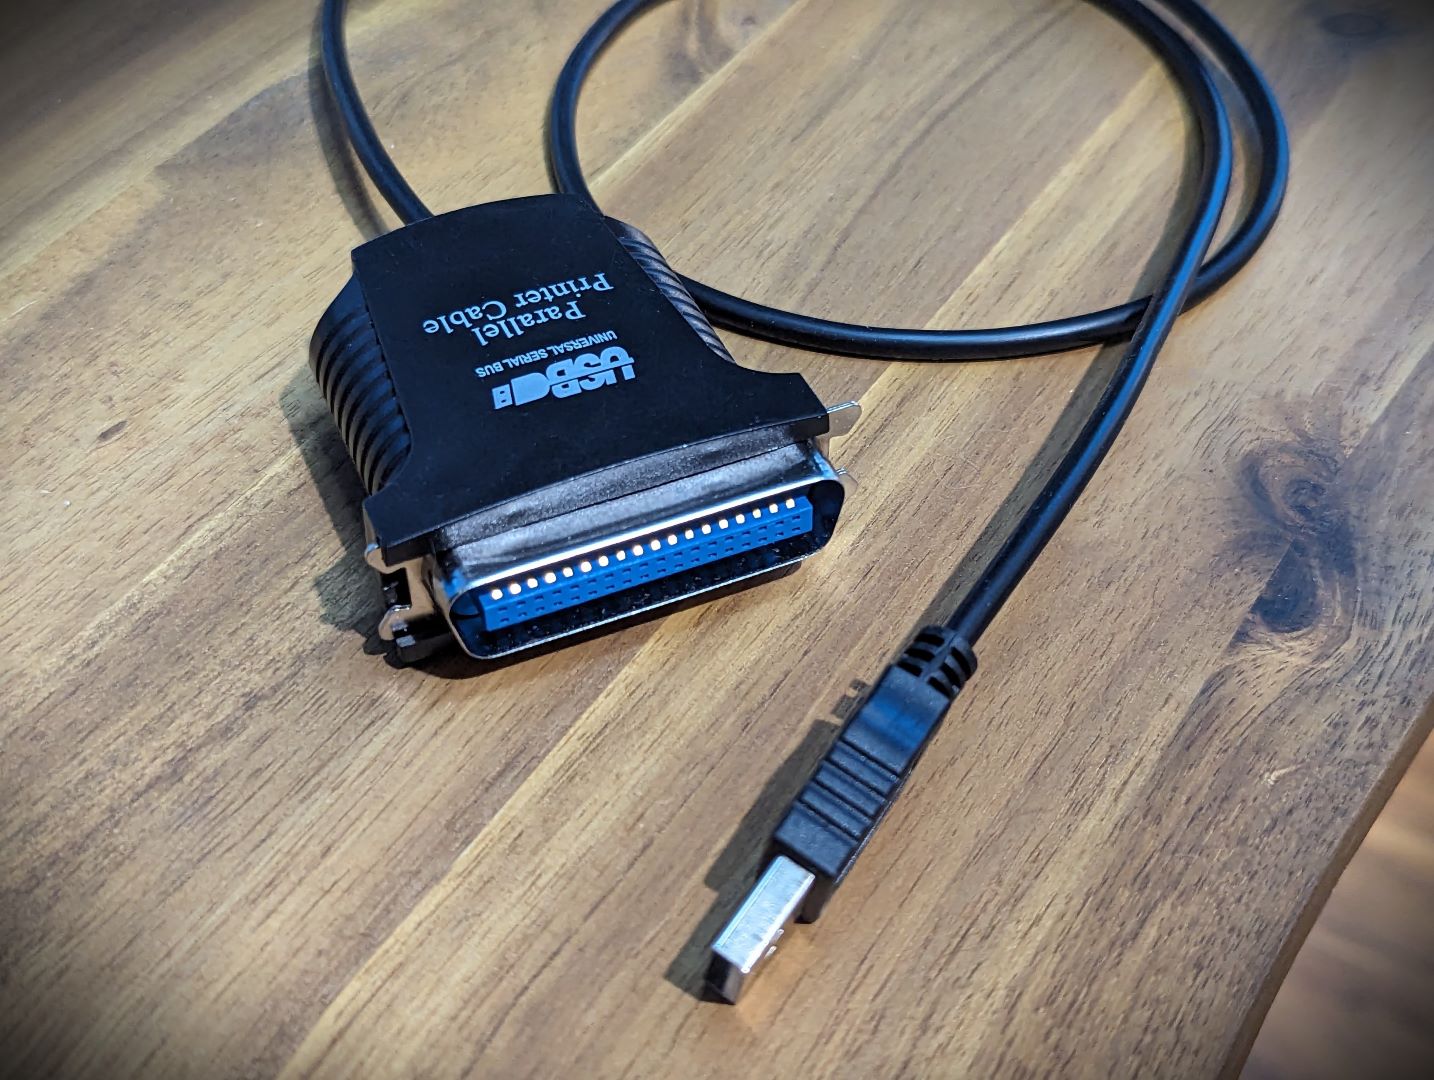
Tested with 2 USB to Centronics adapters from ebay. Both seem to use the same chips internally.
Tested with one 9pin dot matrix printer.
|
For ROM builds after 2023-11-06, the installation of a USB printer driver is required. (The driver is no longer included in the embedded ROM image)
The are 2 executables needed to install the driver (
SERVICE.COMandPRNT.SYS). In your AUTOEXEC.BAT file, you need to add this section:SERVICE=PRNT.SYSIf no printer or USB is detected during the install - then no driver will be installed. If installation is successful, you will see the following output:
PRNT.SYS: INSTALLED
The full kits includes everything you need (PCB, capacitors, IC sockets, CH376S module, connectors, and the ICs). Also includes a small Flash drive that’s been tested and confirmed to work with the current software revision.
| Count | Name |
|---|---|
| 3 | 0.1uF Ceramic Capacitors |
| 2 | 22nF Ceramic Capacitors |
| 1 | 1uF Electrolytic Capacitors |
| 1 | 10uF Electrolytic Capacitors |
| 1 | 220uF Electrolytic Capacitors |
| 2 | 1N4148 Diode |
| 3 | 5mm LED |
| 2 | 3.5 AUDIO SOCKET |
| 2 | 10K Ω Resistor |
| 2 | 1M Ω Resistor |
| 1 | 169K Ω Resistor |
| 6 | 4K7 Ω Resistor |
| 1 | 47K Ω Resistor |
| 1 | 1K Ω Resistor |
| 1 | 100 Ω Resistor |
| 3 | 470 Ω Resistor |
| 1 | CH376S Module |
| 1 | 74HCT138 |
| 1 | 74HC74 |
| 1 | 74HCT32 |
| 1 | LM311N |
| 1 | Right Angle 2x20 Header |
| 1 | Right Angle 1x20 Header |
| 1 | 8 POS IC SOCKET |
| 2 | 14 POS IC SOCKET |
| 1 | 16 POS IC SOCKET |
| 1 | 512MB USB Flash Drive |
You need a ROM image released on or after
2023-10-20. You can find prebuilt images under the project’s github releases.
The cassette part of the module, as it requires specific MSX signals will only work in conjunction with the full MSX on RC2014 kits.
The USB module and associated signal LEDS could in theory have the potential to work on a stock RC2014 - at this stage it will not. There has been no software developed for this configuration, nor any testing done to confirm no conflicts or other unknown issues.
| Port | Description |
|---|---|
| $88 (r/w) | CH376 data port |
| $89 (r/w) | CH376 command port |
| $8A (w) | LED control (bit 0 and 1 only) |
| $8B (w) | mirror of $8A |
| Port | Description |
|---|---|
| $AA (w) | Cassette output* bit 4 = Data recorder motor (reset to turn on) bit 5 = Set to write on tape |
| $A0-$A3 | Cassette input via the YM2149 sound chip |
* The cassette output (single and motor) are via the PPI chip, part of the keyboard controller
Unless you have the PPI module and YM2143 Game module, the cassette interface will not work.
The 3 cassette signals form the other modules are sent via the ‘USR’ lines of the backplane
| PIN | Description |
|---|---|
| USR5 | Cassette In signal from MSX Game Module |
| USR8 | Cassette out signal from the PPI module (keyboard) |
| USR4 | Cassette motor (LED Only) from the PPI module (keyboard) |
On boot up, the ROM code will auto detect the presence of the CH376 module, and mount any formatted/partition drives it find.
For flash/hdd drives, it will only auto mount the first partition of discovered storage devices - assuming the drive has FAT12 or FAT16 partitions. (You can use the NEXTOR utilities MAPDRV to mount other partitions if desired)
For floppy, it will attempt to discover and mount the inserted floppy’s disc. Floppy disks are always first to mount (eg: from A:)
If your flash/hdd drive is not partitioned or does not have FAT12/FAT16 partitions, you will need to manually partition the disk. You can use the FDISK.COM utility (included in the embedded boot rom)
If you have any issues with
FDISKor the drivers detecting your USB devices, you may find it helpful to use a PC to ‘format’ the image with FAT32 – avoid the use of extended partition etc.
For floppy disks, no partition is required, but the disks do need to be formatted. Most 3.5” disk are typically formatted with IBM FAT12 - and should work just fine as is.
But if you do need to format a floppy, you can use the USBCTRL.COM utility from within msxdos’s prompt:
usbctrl floppy format a:
USBCTRL should detect the appropriate density of inserted disk (HD or DD) and issue the format commands to the drive.
The system will on boot, report if it has detected the presence of a USB to Centronics printer adapter. Assuming you have connected the adapter to a simple dot matrix or compatible printer, you can use the standard MSX-DOS commands/process to send text to the printer.
For example, the following MSX-DOS command will send the file, MYTEXT.TXT, file to the printer.
COPY MYTEXT.TXT PRN
Please note there are at least 2 form factors for the CH376 module. See blog post: https://www.dinoboards.com.au/2023/11/19/CH376-Module-Challenge.html
Here is a close up image of the module I have used:
Please note that this is a kit, produced by a non-expert (me) for hackers, DIYers’ and retro lovers, to tinker with. Please exercise caution and follow good safety practices. You will be working with sharp knives, a hot soldering iron, and small metal components. Be mindful of the risks involved in the build process. I will do my best to answer any questions you may have.
This kit is provided as-is, with no guarantees or warranties. By assembling and using this kit, you acknowledge that you do so at your own risk.